

To make the yoyo badge you will need
- Some scrap material
- A needle
- Thread (any colour)
- A button (if you dont want to use a button you could maybe use a bead or sequins or anything else you can think of)
- A pen or pencil
- Scissors
- A badge (the back of it, I'm not sure what its called)

- Draw a circle on the back of the material whatever size you want (make the cicle about twic as big as you want the final yoyo as it does get smaller)

2. Then cut the circle out. Dont worry if its a bit messy or frayed because you wont see the edges


3. Then using the thread and needle do a running stich as close the the edge as possible untill you get to where you started. It wont work as well if the stich isnt along the edge

4. Once you've finished the stiching pull the thread so that the material all scrunches together.

5. If you have enough thread just carry on with that piece but if you dont get some more. Then just sew your button onto the middle of the yoyo. Dont worry about the back being messy as it wont be seen.
If you dont want to make yours into a badge your yoyo is complete. But if you do want to make yours into a badge just carry on reading...

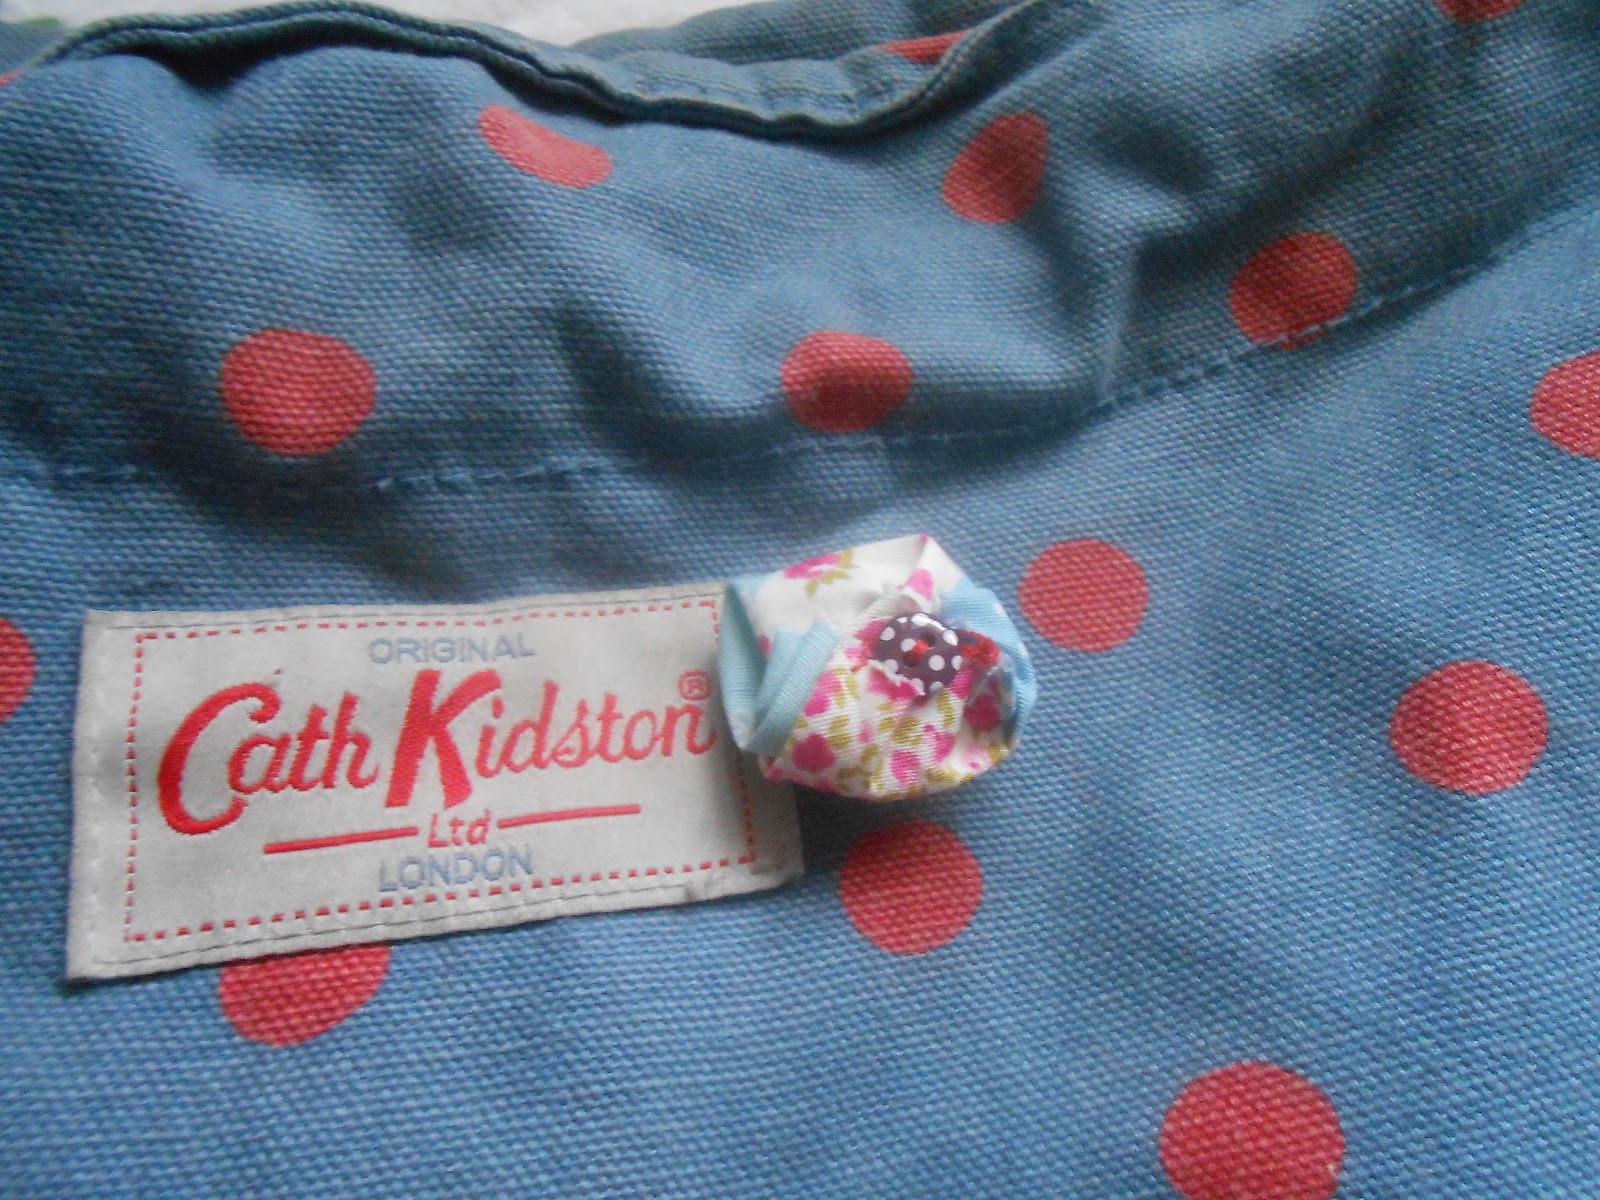
6. The last step is to just sew the badge onto the back of the yoyo. Dont worry if its messy (as you tell by the phot mine is very messy) But make sure you dont sew onto the front of the yoyo. But if you do dont worry about it.
Thats the last step to making your yoyo badge. I hope youve enjoyed it.
You could put your yoyo on a cushion, a blazer, a bag or just anywhere you want to put it.
Song of the day - Everybody talks - Neon trees
No comments:
Post a Comment